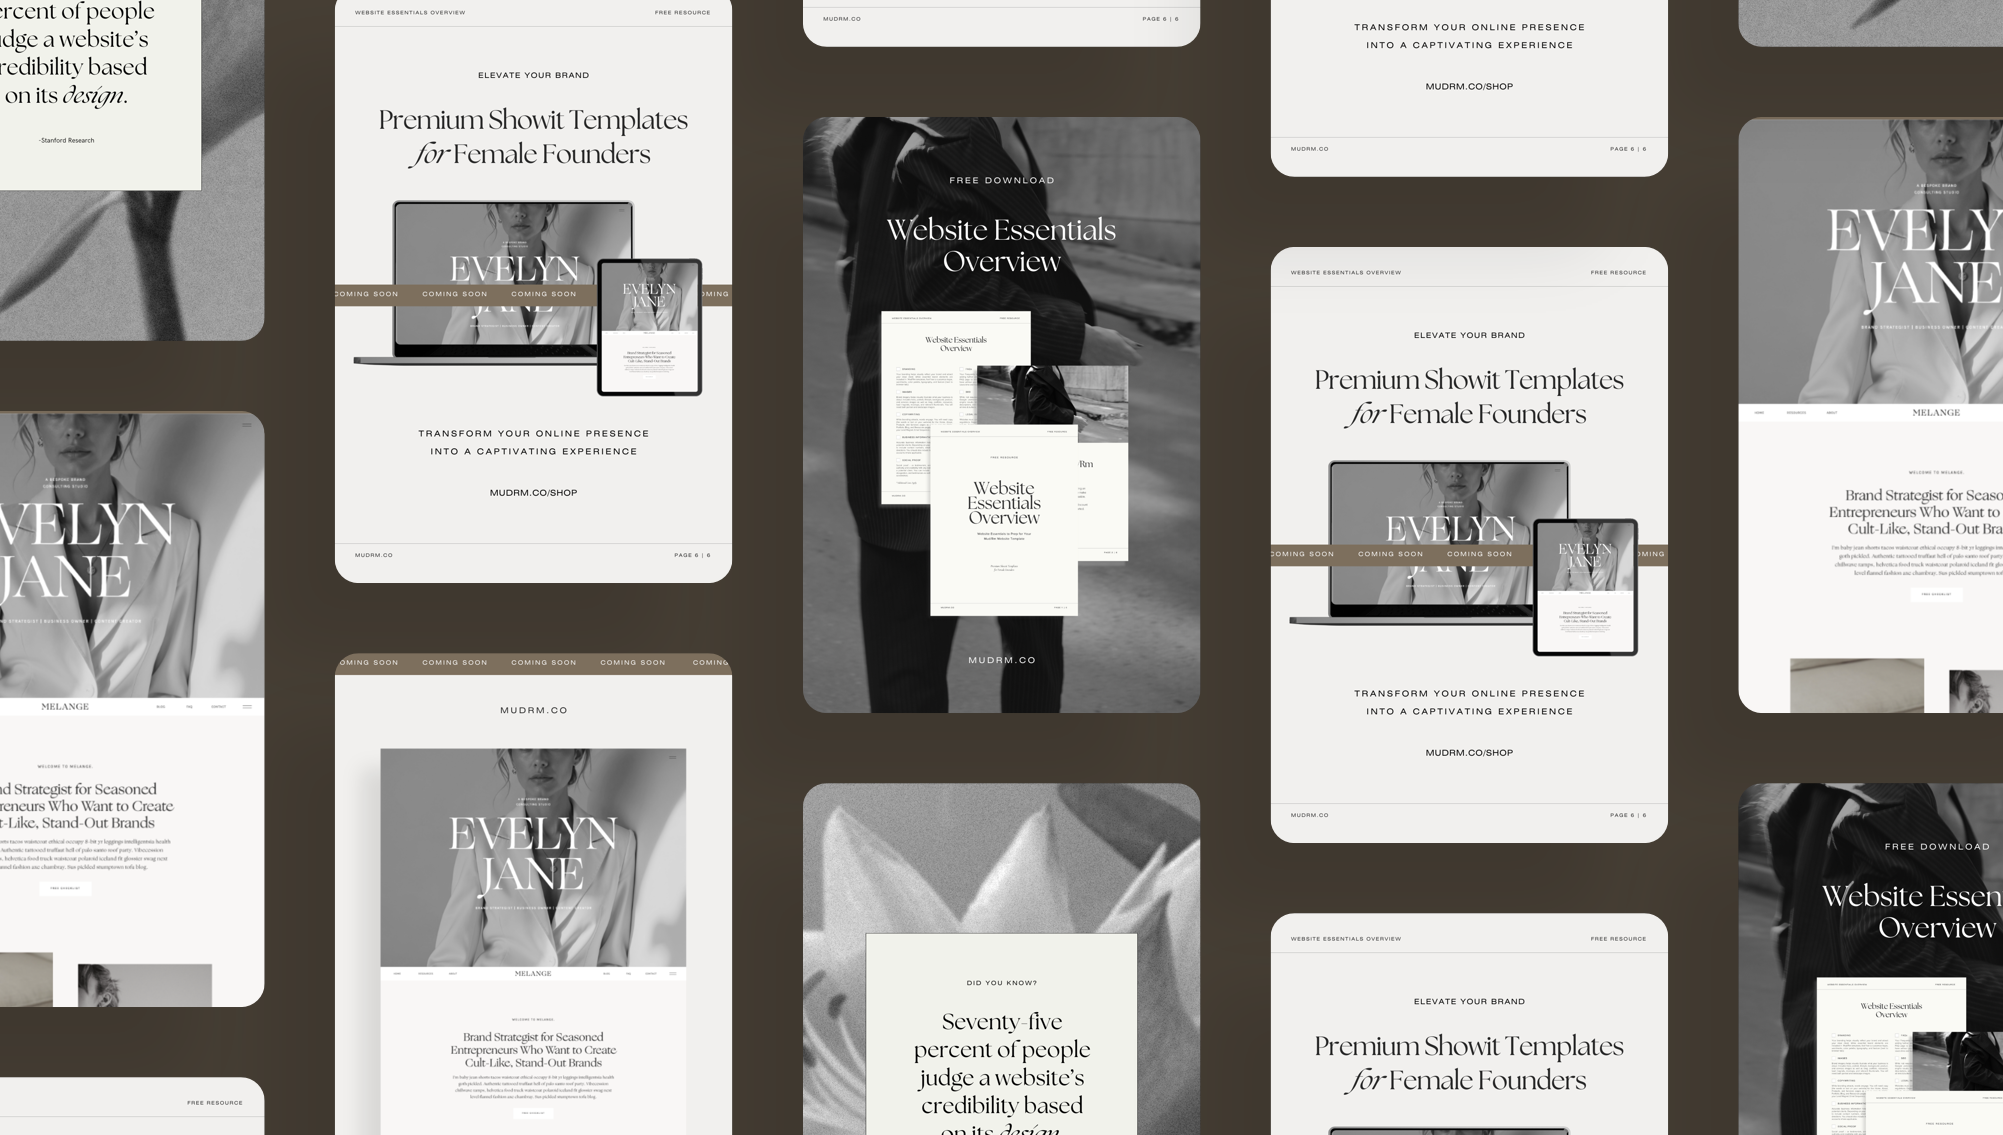
Interested in a Mary+Joseph template but not sure what the process entails? In this article, we lay out a brief overview of what you can expect working with our templates.
From creating your first Showit account to launching with confidence, we break down the process of installing, customizing, and launching your template into simple steps so you can proceed with confidence.
Ready? Let’s dive in.
#1 – Creating a Showit Account
After you have selected your template from the Mary+Joseph template shop and finalized your purchase, the first step is to create a Showit account if you haven’t already done so. Showit offers every new subscriber a free 14-day trial period. Existing users can simply log into their existing Showit account with their existing username and password.
#2 – Installing Your Template
Upon purchase, you will receive an email from us with your ShareKey. This is a unique 10-digit number that you will use to install your template inside your Showit account.
- Installing the Template: Once you have logged into Showit, select Open Design App under Quick Links. Click on your “profile image or name” in the bottom left-hand corner. Select Add Design to Library and enter the ShareKey. Your template will be instantly installed in your Showit account, ready for you to customize.
#3 – Creating a Backup of Your Template
We highly recommend making a temporary backup of your site before you start customizing. This can be done by clicking on your “profile name or image” in the bottom left hand corner, selecting View My Site Designs, and hovering over your Mary+Joseph template and selecting Duplicate. This way, you can reinstall any part of your template should you encounter challenges during the customization process.
#4 – Updating your Site Settings
The first step is customizing your template is to update your Site Settings. This can be done by clicking on Site Settings in the top left-hand panel and updating your Site Title, Vanity URL slug, and Favicon. You can also update your Social Media account handles and link your Google Analytics account.
#5 – Customizing Fonts & Colors
All Mary+Joseph templates come with pre-installed fonts and colors (unless stipulated otherwise). Leave them as is or swap them out for your own brand fonts and colors. You can upload an unlimited number of custom fonts while your color palette consists of 8 colors.
(All custom fonts must be licensed for web use according to your number of monthly website views. New businesses can start with the minimum threshold and upgrade the license when monthly views exceed the limit as defined by the font license.)
#6 – Adding Your Images
The next step is to organize your site’s images and upload them to your site’s Media Library. We recommend curating all your images into a folder on your desktop. This allows you to quickly and easily upload them to Showit and replace the placeholder images in your template. (Please note that while free stock images are included in every Mary+Joseph template, images cannot be downloaded from your media library to be used elsewhere.)
#7 – Adding Your Text
All Mary+Joseph templates have placeholder text strategically placed in each template for you to easily update with your own copy. If you are not comfortable writing your own copy, we recommend getting a professional copywriter to craft the copy for your website. Professional copywriting will drastically improve your credibility and website conversion rates.
#8 – Adding Links to Social Media Accounts
Mary+Joseph templates have strategic social media links placed within each template. To add social media accounts, add your social media handles under Site Settings. (Remember to update each social media icon by selecting Click Actions for each icon and adding the URL link to each respective social media account.)
#9 – Adding SEO
All Mary+Joseph website templates are SEO-ready. This makes adding your Site Title, Page Titles, Meta Descriptions, and Image Alt Text super easy. While not required to launch, adding SEO content will help Google understand what you offer and how to rank you in search engine results. (For advanced SEO setup, we recommend hiring an SEO copywriter and SEO expert to set the template up for you.)
#10 – Adding Legal Content
All websites are subject to the law as required by individual states, regions, and countries. As a business owner, you must familiarize yourself with the legal requirements to ensure your website complies with local, national, and international laws. This includes adding a Privacy Policy, Terms and Conditions, Cookie Policy, and Disclaimer to your website. It can also include shipping, refund, cancellation, and exchange policies where applicable.
#10 – Activating a Showit Subscription
Once the initial 14-day trial period has expired, you will need an active Showit subscription to access your template. Showit offers three subscription plans based on your business needs. From within the main Showit account dashboard, select Subscriptions and choose the plan that best fits your requirements. Use code MARYJOSEPH at the Showit checkout to get your first month free.
#11 – Connecting Your Blog (Optional)
Once you have activated your Showit subscription, you can connect a blog. All Mary+Joseph templates are blog-ready. Showit integrates seamlessly with WordPress, the world’s leading blogging platform. If you are new to blogging, Showit will set up your WordPress blog for you and provide you with a link to access your blog, for example, yourdomain.com/wp-admin. Your blog login details are the same as your Showit login details.
If you have an existing Squarespace or Wix blog, you can either manually copy your blog posts into WordPress or ask Showit to migrate your blog. If Showit migrates your blog, you will require an Advanced Blog subscription plan.
#11 – Connecting Your Domain
Once your Showit subscription has been activated, it is time to connect your domain. If you do not own a domain, we recommend GoDaddy as they integrate seamlessly with Showit for domain setup. If you need help setting up your domain, you can grant Showit access to your GoDaddy account and they will set it up for you.
#12 – Pre-Launch Check
Once the customization process is complete, we recommend doing a pre-launch check before going live. This includes checking that pages and content display correctly, placeholder content has been replaced with your content, and all links work as they should—including buttons, page links, social media links, and contact forms.
#13 – Going Live
Once you have completed a pre-launch check, you are ready to go live. To publish your website, hit the Publish button in the top right-hand corner of the editor. Congratulations – your website is now live!
#14 – Setting Up Analytics
While this isn’t required, you may want to analyze your website’s traffic. This includes tracking where your site visitors are coming from, which pages they visit, and how long they stay on your site. Since Showit offers the option to connect your website to Google Analytics, we recommend creating a Google Analytics account and linking it to your new website.
Getting Started With Mary+Joseph Website Templates
Launching a stunning, strategic website has never been easier. We’ve done all the hard work for you so you can quickly and easily add your content and launch a website that will not only look visually stunning but drive results.
If you are interested in starting your web design journey with us and launching an elevated website for your brand, feel free to browse the Mary+Joseph template collection here.


